

Play the impossible!

Upgrade your sound with the Ghost® Modular Pickup System—the ultimate affordable, easy-to-install solution for acoustic-electric guitars. Switch seamlessly between studio-quality acoustic tone and MIDI-compatible output with just a flick of a switch.
Ghost® Modular Pickup System – studio-quality acoustic tone & MIDI output
Why choose the Ghost® Pickup System?
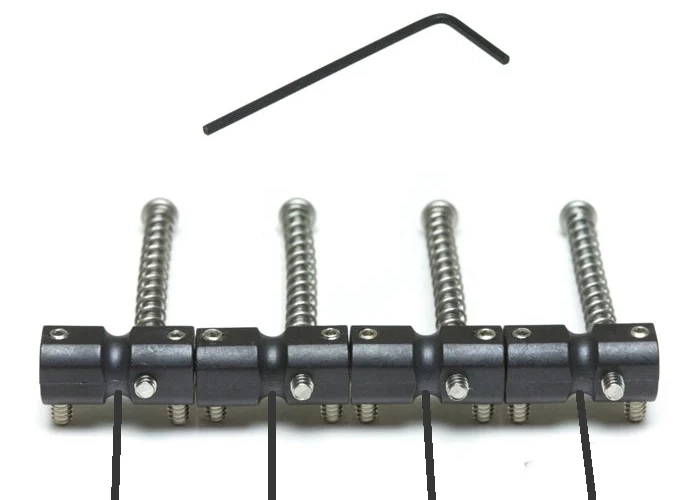
Modular Design – Customize your setup for unmatched versatility.
MIDI Output – Connect to synths, effects, and digital audio workstations (DAWs).
Easy Installation – No complicated wiring—plug and play in minutes.
Perfect for live performances, recording, and experimental musicians. Whether you need crystal-clear acoustic amplification or cutting-edge MIDI control, the Ghost® Pickup System delivers.
Get yours today and transform your sound!

Ghost® Pickup System: Downloadable guide (click the image)
*Some instruments may require modifications to accommodate piezo wires, for more specifics or contact us directly at support@graphtech.com.

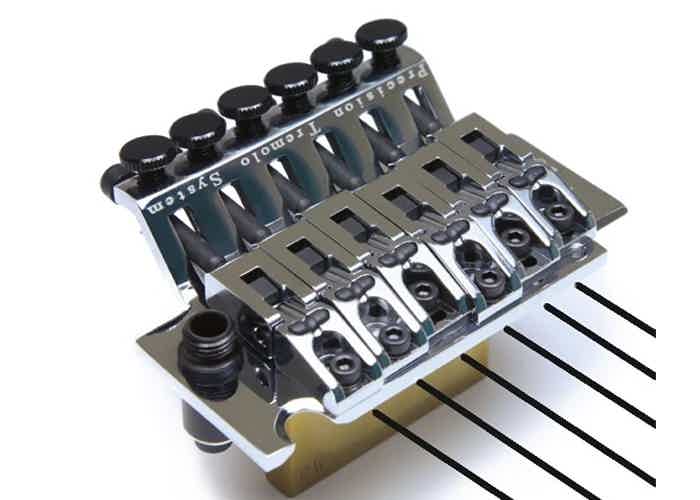
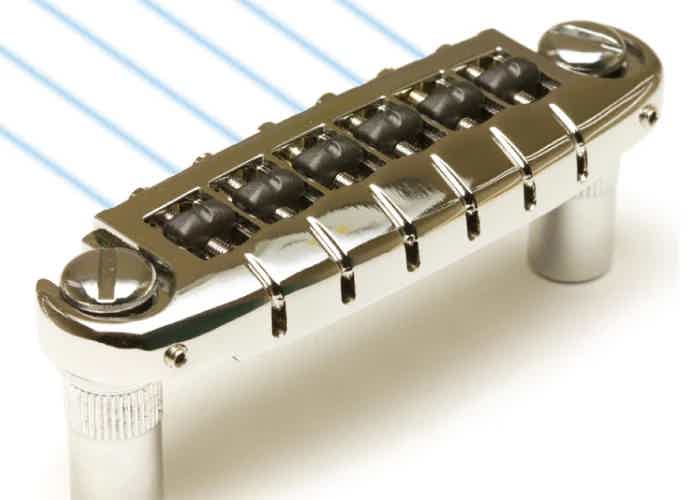
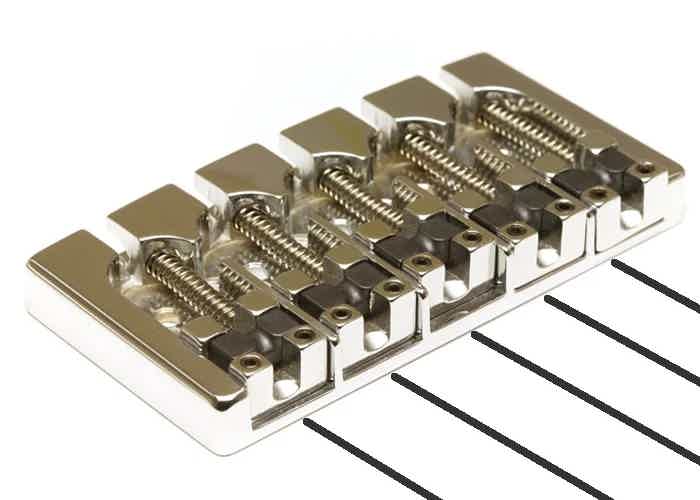
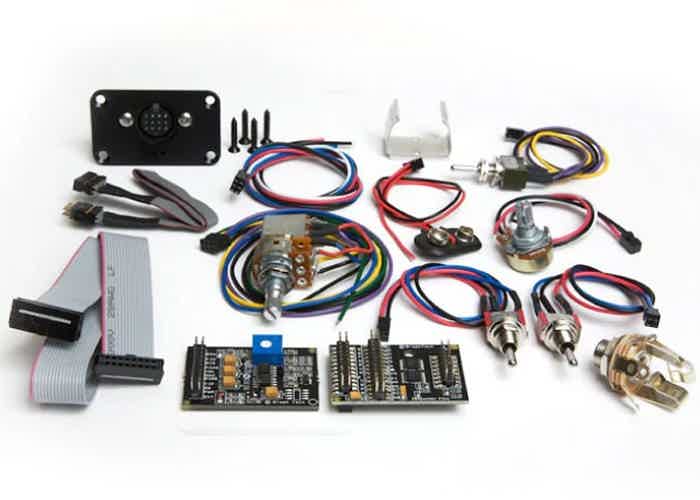
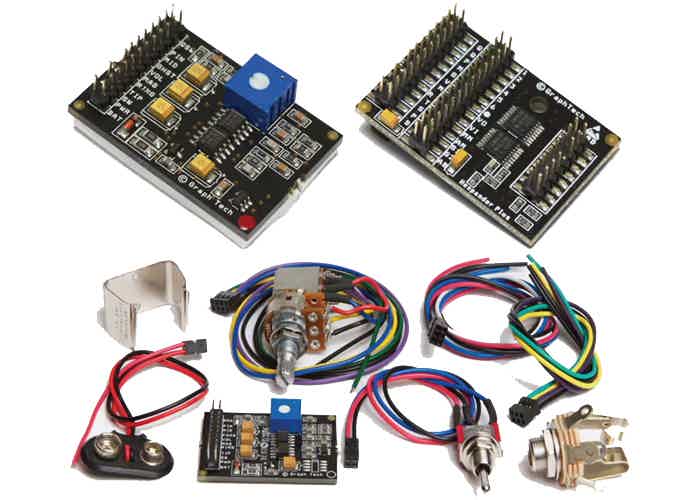
The Ghost® Modular Pickup System
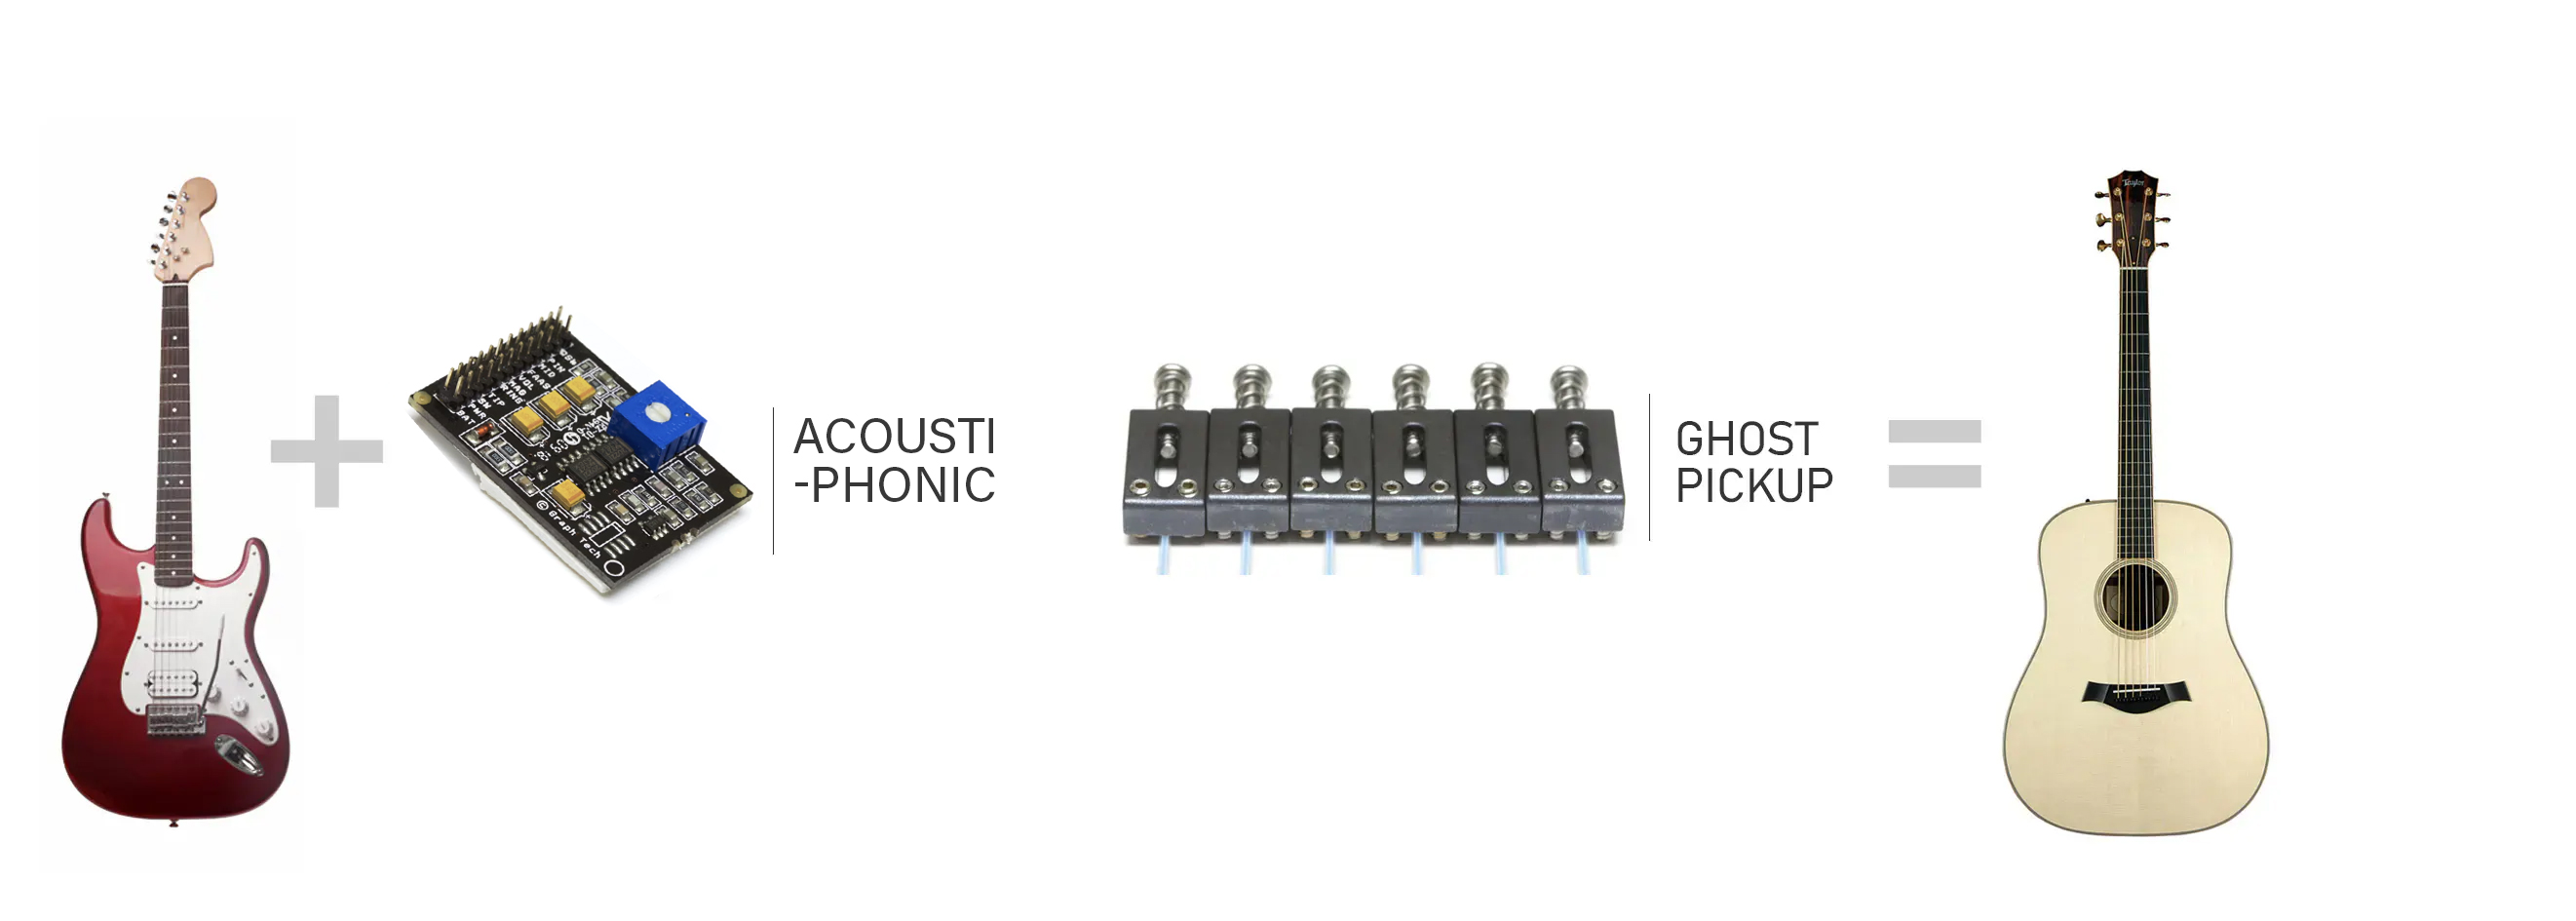
Acousti-Phonic
Imagine a rich, authentic acoustic guitar tone coming from your electric guitar - at the flick of the switch! Replace your current saddles with Graph Tech's ghost modular pickups and one of our Acousti-Phonic preamp and you'll have instant access to true, acoustic tone from your electric guitar or bass, without altering your electric pickups. With the ghost Acousti-Phonic system you can play one guitar! It can be electric AND acoustic, separately, or blended together for an infinite range of new and exciting sounds.

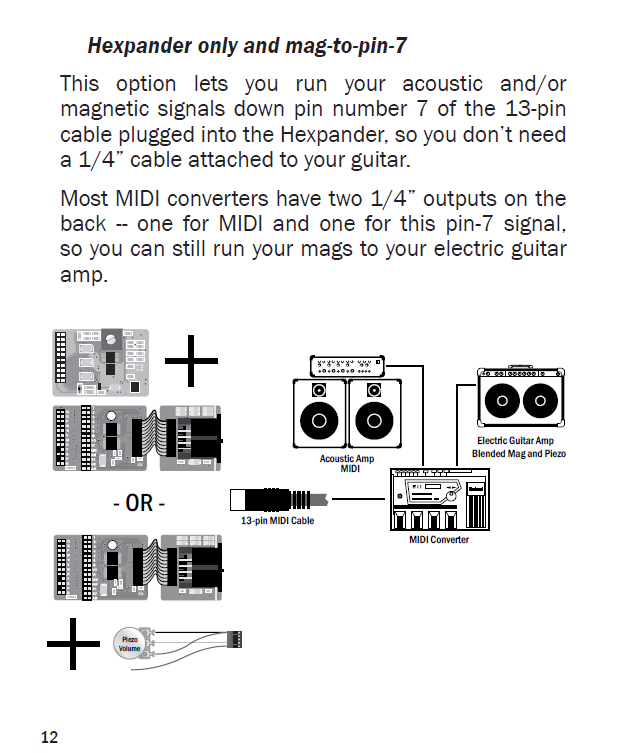
Hexpander
The ghost Hexpander MIDI interface system adds MIDI capability to almost any guitar or bass. Plug your guitar into pitch-to-MIDI converters by Roland or Axon and enter the MIDI sound universe. The Hexpander MIDI interface provides responsive and accurate tracking unequaled be any other system on the market today. Check out how affordable and easy it can be to make MIDI part of your music making.
Graph Tech has created some of the world's most recognized products and brands in the music industry
The list of industry firsts include the world's first self-lubricating nut in 1983, String Saver Saddles the first saddle to drastically reduce string breakage, TUSQ man-made ivory, and Ratio machine heads.


